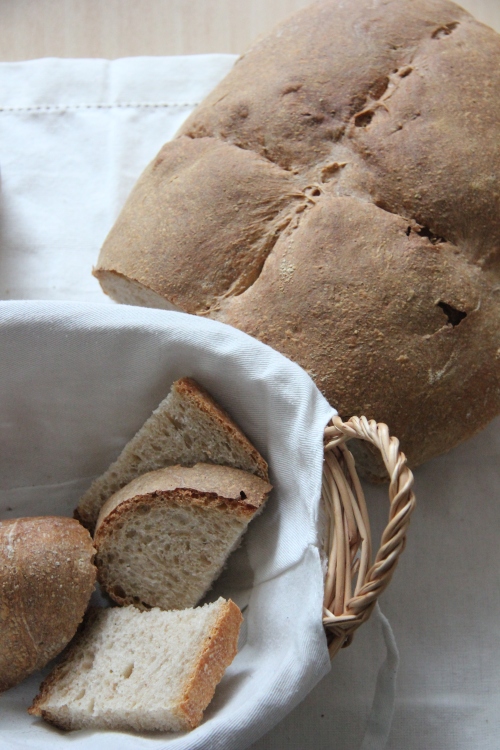
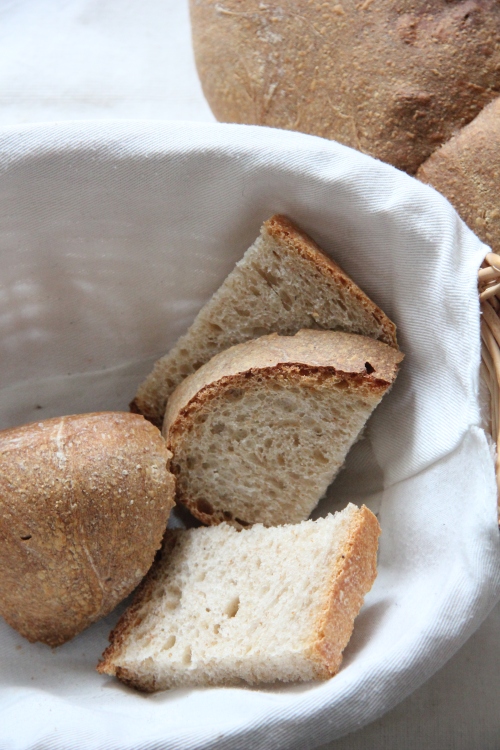
Since my first attempt of making bread at home I have been reading a lot about baking, the different tecniques, different kind of flours and small tricks. I also bought a book in Italian edited by SlowFood and called “Pane, Pizze, Focacce” (doesn’ t need a traslation this one, does it?!). To be honest this book opened my eyes to a complete new way of looking at bread (or pizza) making. One of the main idea of the book is not to use any chemical yeast from which one will obtain a low quality and “tasteless bread”. The real secret is to use a natural yeast, which in Eglish is called Sourdough. One can start and grow (yeah it’s the right verb!) its own sourdough. You can simply start from mixing some flour (100g) 80 ml of water and a tbs of honey or 20g of yogurts. Mix all together in a bowl, cover it and leave at room temperature for 48 hrs. I left it inside the oven. The mixture has a semi-liquid consistency.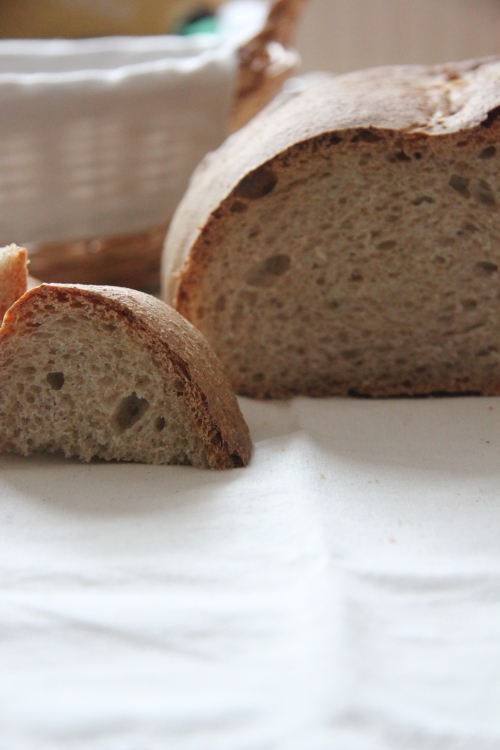
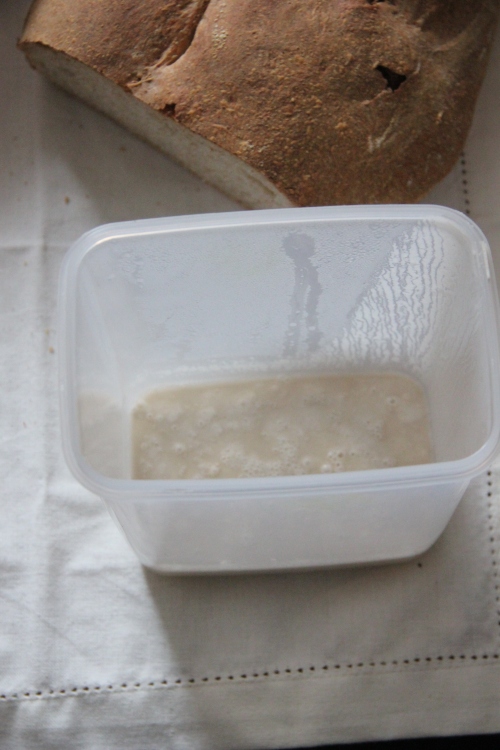
After 48 hrs the mix of flour and water should have started making some bubles and smell a bit of alchool. The process of fermentation has started. Every other day the sourdough needs to be fed. Yes, fed! Because the bacteria developed inside the mix need more flour for a further development. Every other day take 100g of sourdough (discard the rest), 80 ml of water and 100 g strong flour. Mix everything together and leave to rest for 24/48 hrs at the room temperature. Reapeat this for 14/15 days and then the sourdough should be ready to use in any recipes for bread or pizza/focaccia making. Every time the sourdough is refreshed a smal part of it have to be thrown away if you don’t want to end up using kilos of flour to feed the sourdough. Also you should be making bread or pizza very often (2 or 3 times a week) to be able to use all the sourdough. Once the sourdough was ready for the first use I put on the side 100g of it, stored in a air tight container in the fridge for my next bread session. I used the other 100g to make bread.
After feeding my Sourdough for two weeks, finally came the time to try and make my first 100% homemade bread. Browsing the internet I found out that there are loads of pages and blogs dedicated to sourdough’s recipes. The best blog I could find is this (Viva la Focaccia). The author of the blog summaries all the main ponts of making a sourdough in this post, which I found extremely useful.
The recipe I used includes:
90g of sourdough (put the rest in a airtight container for next time you intend to make bread or pizza. Conserve it in the fridge)
80ml of warm water
90g of 00 flour.
Mix all the ingredients together, cover it and leave to raise for the whole night. I put the container in the oven with light on, which ensure a temperature of 25-30 degrees. The day after this dough should have doubled in volume.
In the morning mix the sourdough made the day before with
600g of 00 flour,
300ml of water,
1 tbs of sugar
6 gr salt
Always put the salt towards the end as it should not be in direct contact with any sort of yeast because it obstacles the raising process. Work the dough for around 10 minutes or more until you obtain a smooth dough all over. Working the mixture with energy allow to the gluten structure to become stronger and the bread to grow more during the cooking process. Put the dough in a container cover it and leave it to rest at a temperature of 25-30°C for at least 3 hours.
After the 3 hours the volume should have doubled. “Fold” the dough in three parts like you would do for a t-shirt. Repeat the move for 2 or three times. This gives strength to the dough. In this way I already gave the final shape to the dough, therefore I put it on a baking tray, covered with a tea towel and some cling-film and left to rest inside the oven with the light on for a further 3 hours.
After the last part of the raising process the dough is ready to bake. Pre-heat the oven a 180°C cook for 30 minutes. Low the temperature to 170°C and cook for a further 30 minutes. Once the bread as a brow colour on the outside, switch off the oven and open the door to let some cold air in, which will optimize the cooking process of the bread. Leave to cook for a couple of hours of more before cutting it.
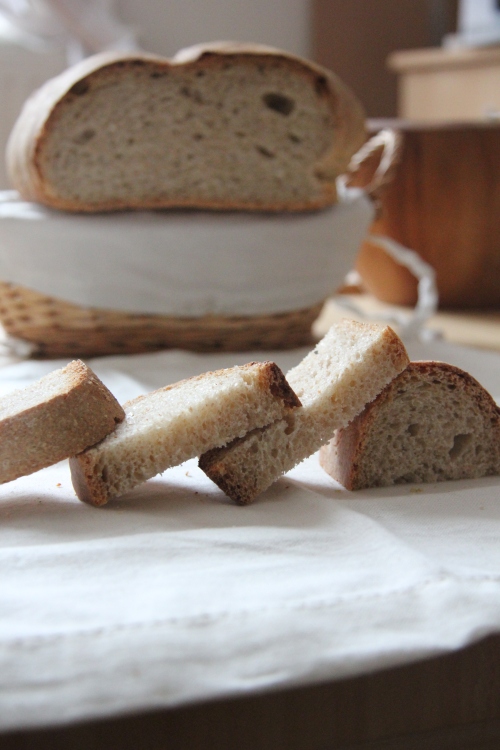
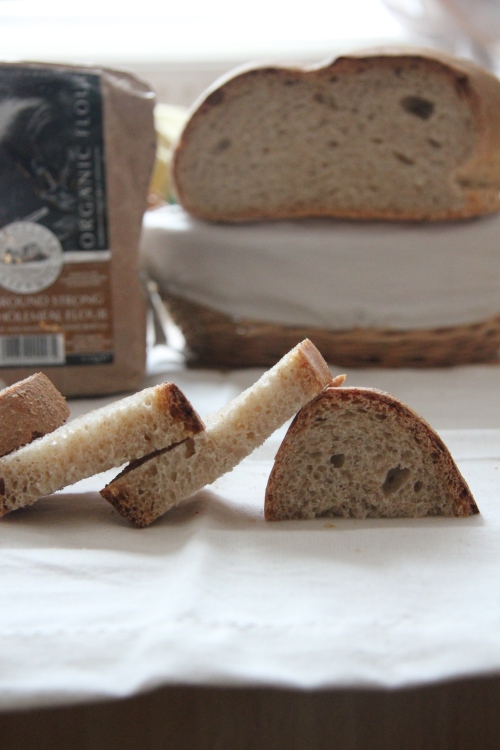
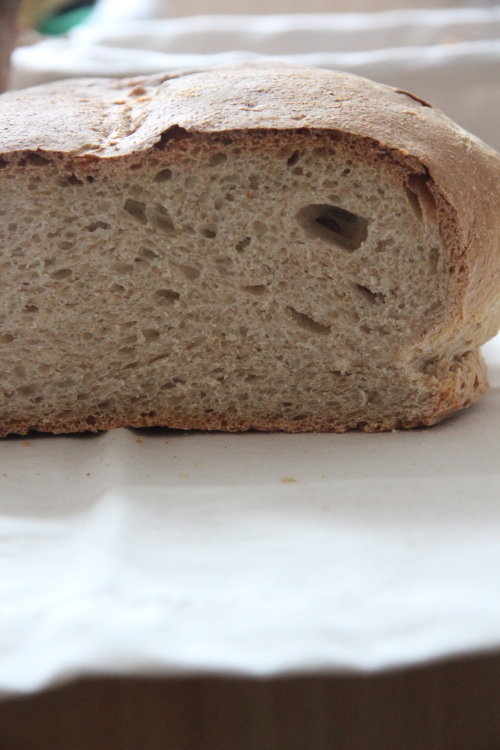
I know it seems to be an endless process jut to make some bread. But believe me the result is worth every single effort. I think my greatest satisfaction came from the taste of the bread and from the fact that is 100% home made with no weird chemicals contained in the dry yeast or in the breads you buy at the supermarket.

